Create a Lab
Use labs to create interactive and engaging learning experiences. Labs typically consist of a short set of instructions, side by side with a code editor in the browser. Learners can use the in-browser code editor to write code, execute their code, and deploy their code to the cloud. All without installing packages and without ever leaving the browser.
Each lab should teach a single concept and should guide the learner to create something.

How to create a great Lab
First, think about what you aim to teach learners in your lab. Maybe you want to demonstrate how to get a JavaScript application to print Hello World. Or maybe you want to walk learners through training a Machine Learning model with PyTorch.
Thinking of a great title for your lab is a great way to get yourself to think about what you'll be teaching. It's also a great way to tell your learners what you're going to teach them.
Once you've decided on the goal of your lab, decide which of our tools best suits your needs. Consult our lab tools page to learn more about each tool.
Some basic tools and their use cases:
- Try
Cloud IDEfor general purpose coding and web apps 🚀 - Try
JupyterLitefor data science and machine learning with Python 🧠 - Try
Intructional Labfor writing basic tutorials 💡
Create your first Lab
Let's create a simple lab to get started. We'll be using the Cloud IDE tool to guide a learner to build a basic Hello World application with JavaScript.
Click Create Lab and select Cloud IDE as the tool. For the title, enter Hello World with JavaScript and for the description, enter Learn how to print "Hello World" in Javascript.
Once you have created your lab, you will be able to edit the instructions, test your lab, and easily insert it into your course.
Writing your instructions
Click Edit Instructions to start. This will open Author IDE in a new tab.
Author IDE is the editing environment you will be using to work on your lab. You can write rich markdown with easy-to-use features like pagination, 1 click code execution, version control and more.
When you first open your lab instructions, there will be some useful text already in the editor. It will walk you through Author IDE's features and help you get familiar with the environment.
For the purposes of this short guide, let's replace all the text in the editor with the below text.
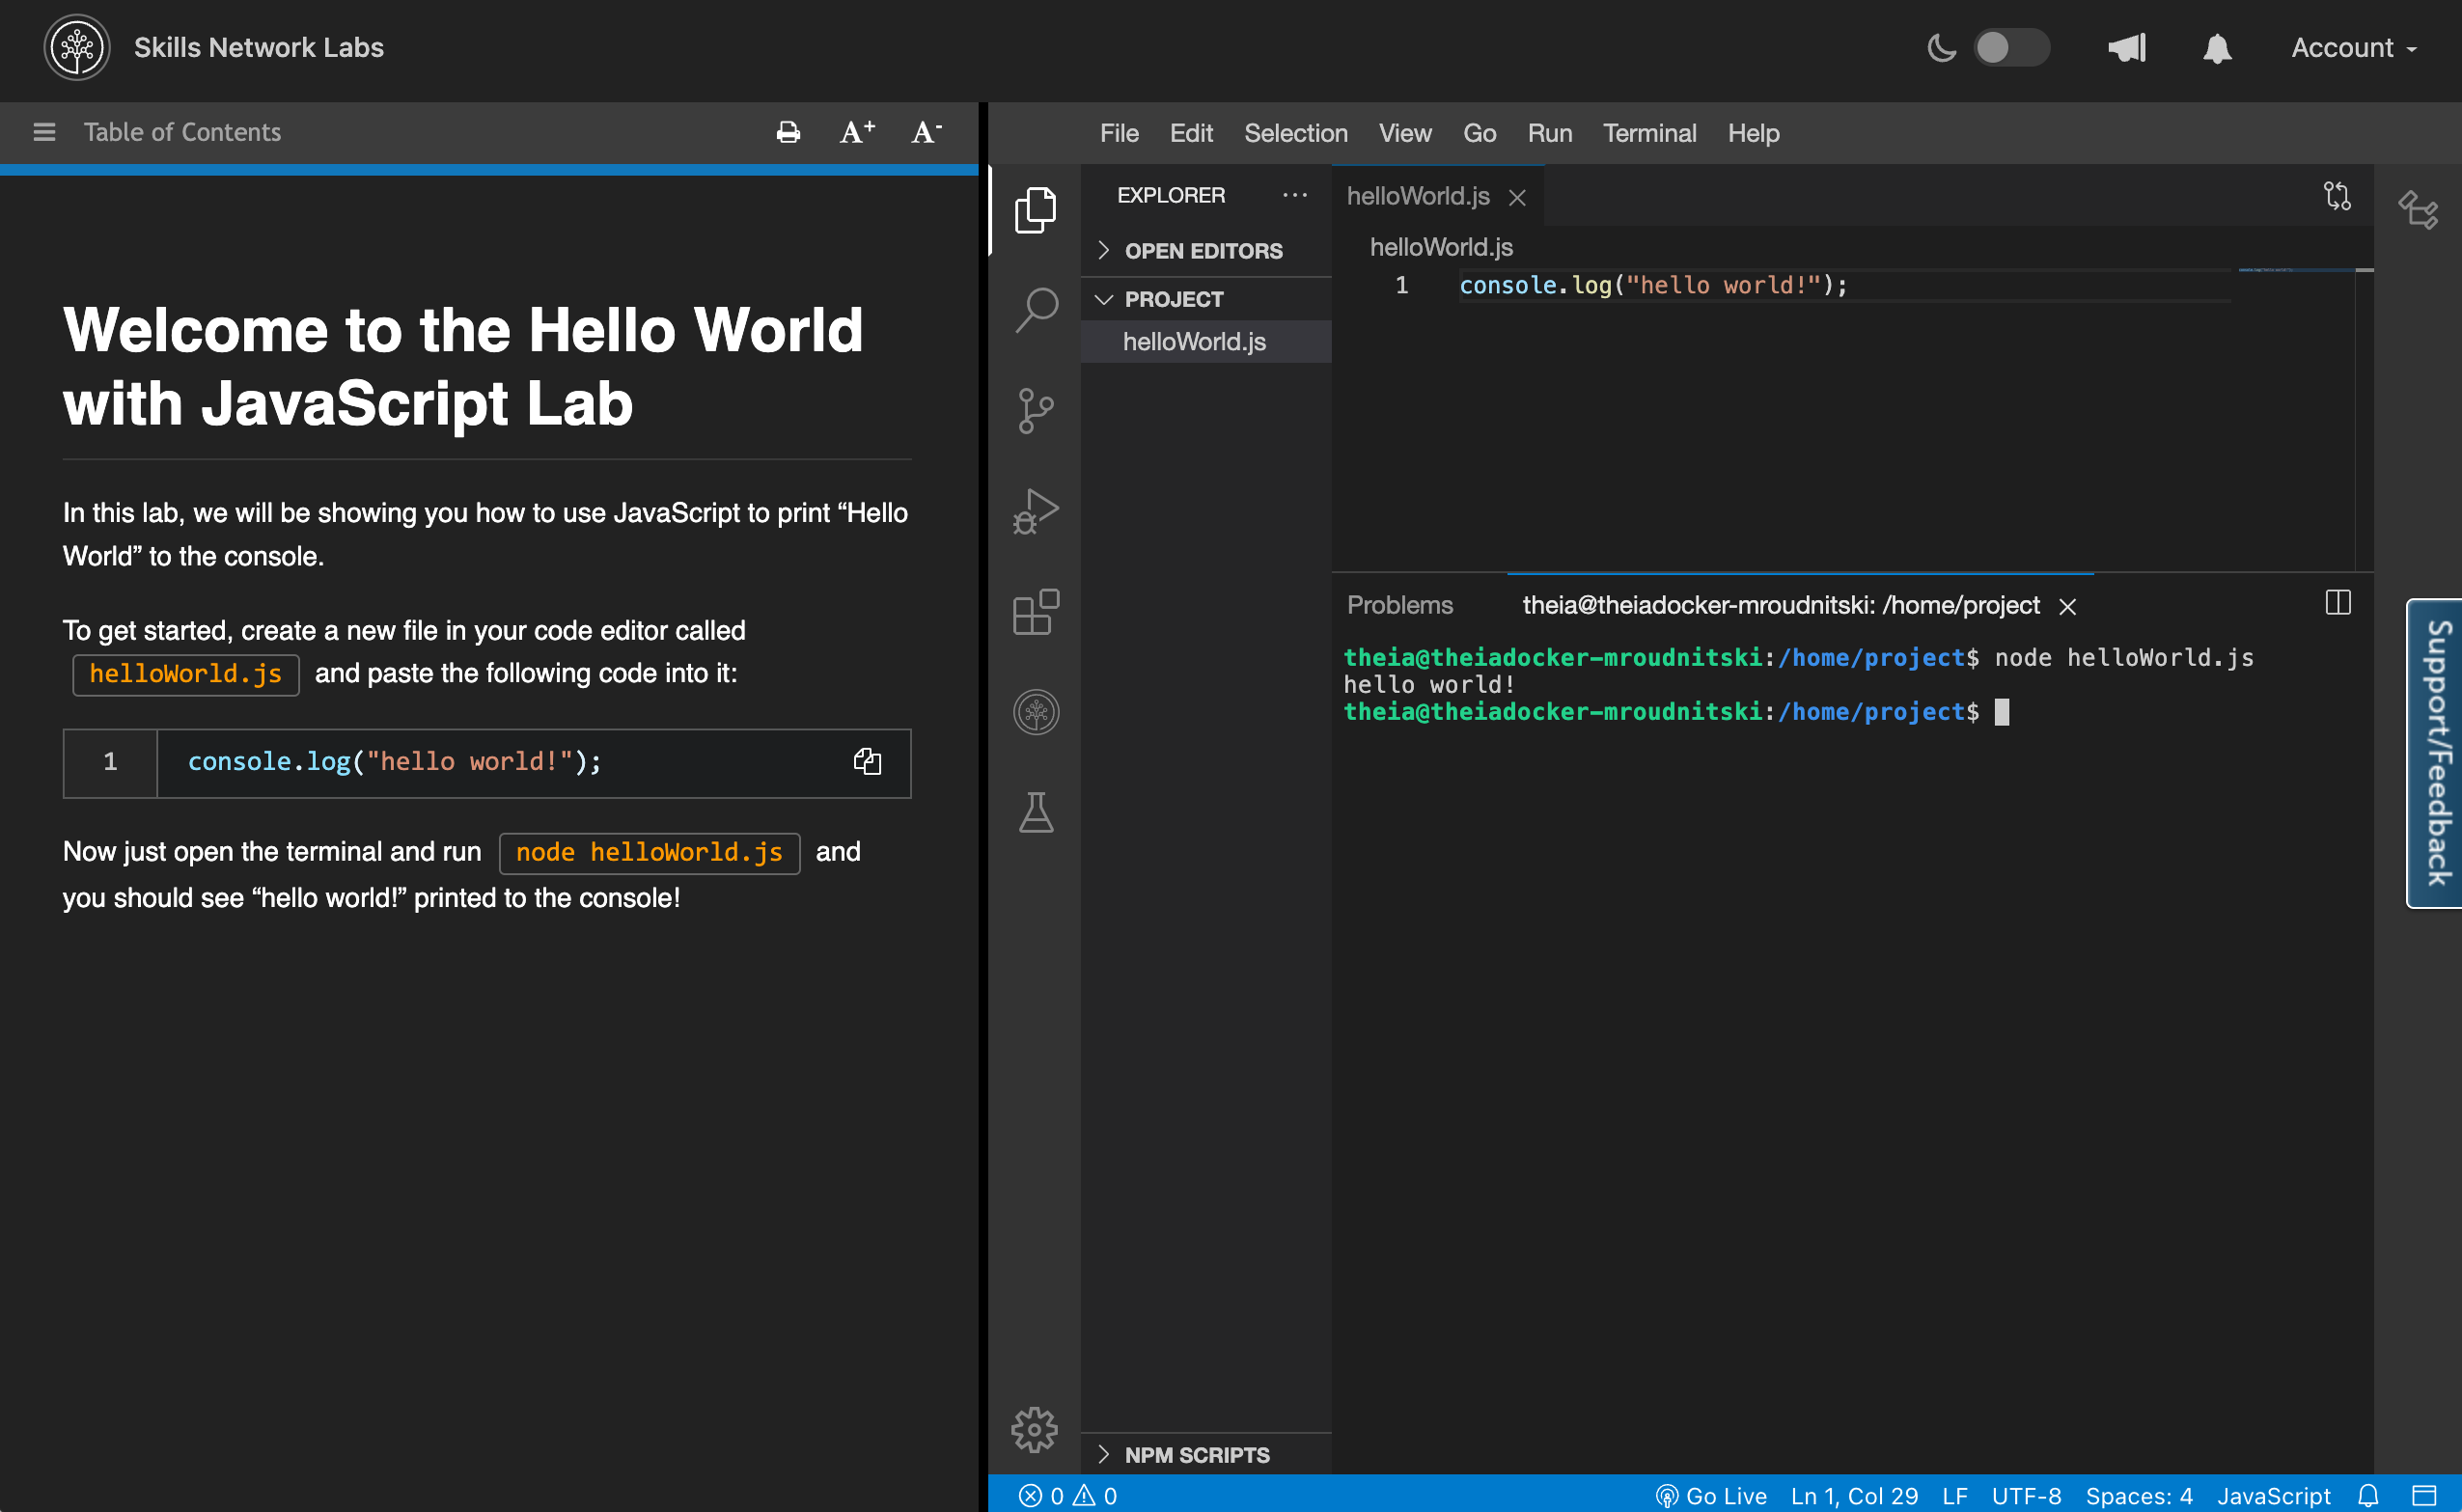
::page{title="Welcome to the Hello World with JavaScript Lab"}

In this lab, we will be showing you how to use JavaScript to print "Hello World" to the console.

To get started, create a new file in your code editor called `helloWorld.js` and paste the following code into it:

```javascript
console.log("hello world!");
```

Now just open the terminal and run `node helloWorld.js` and you should see "hello world!" printed to the console!
You should see the preview updating on the right to reflect your changes. Now that we have some instructions, click Save to save your progress, and then Publish to finalize your changes.
That's it! We've created our first lab.
Testing your lab
Back on the course page, click Launch Lab to see your lab in action. This will open a new tab. Here, you can preview exactly how learners will experience your lab. Try following the instructions of our lab now!

Awesome! We now have a lab that's ready to be added to our course.