Cloud IDE
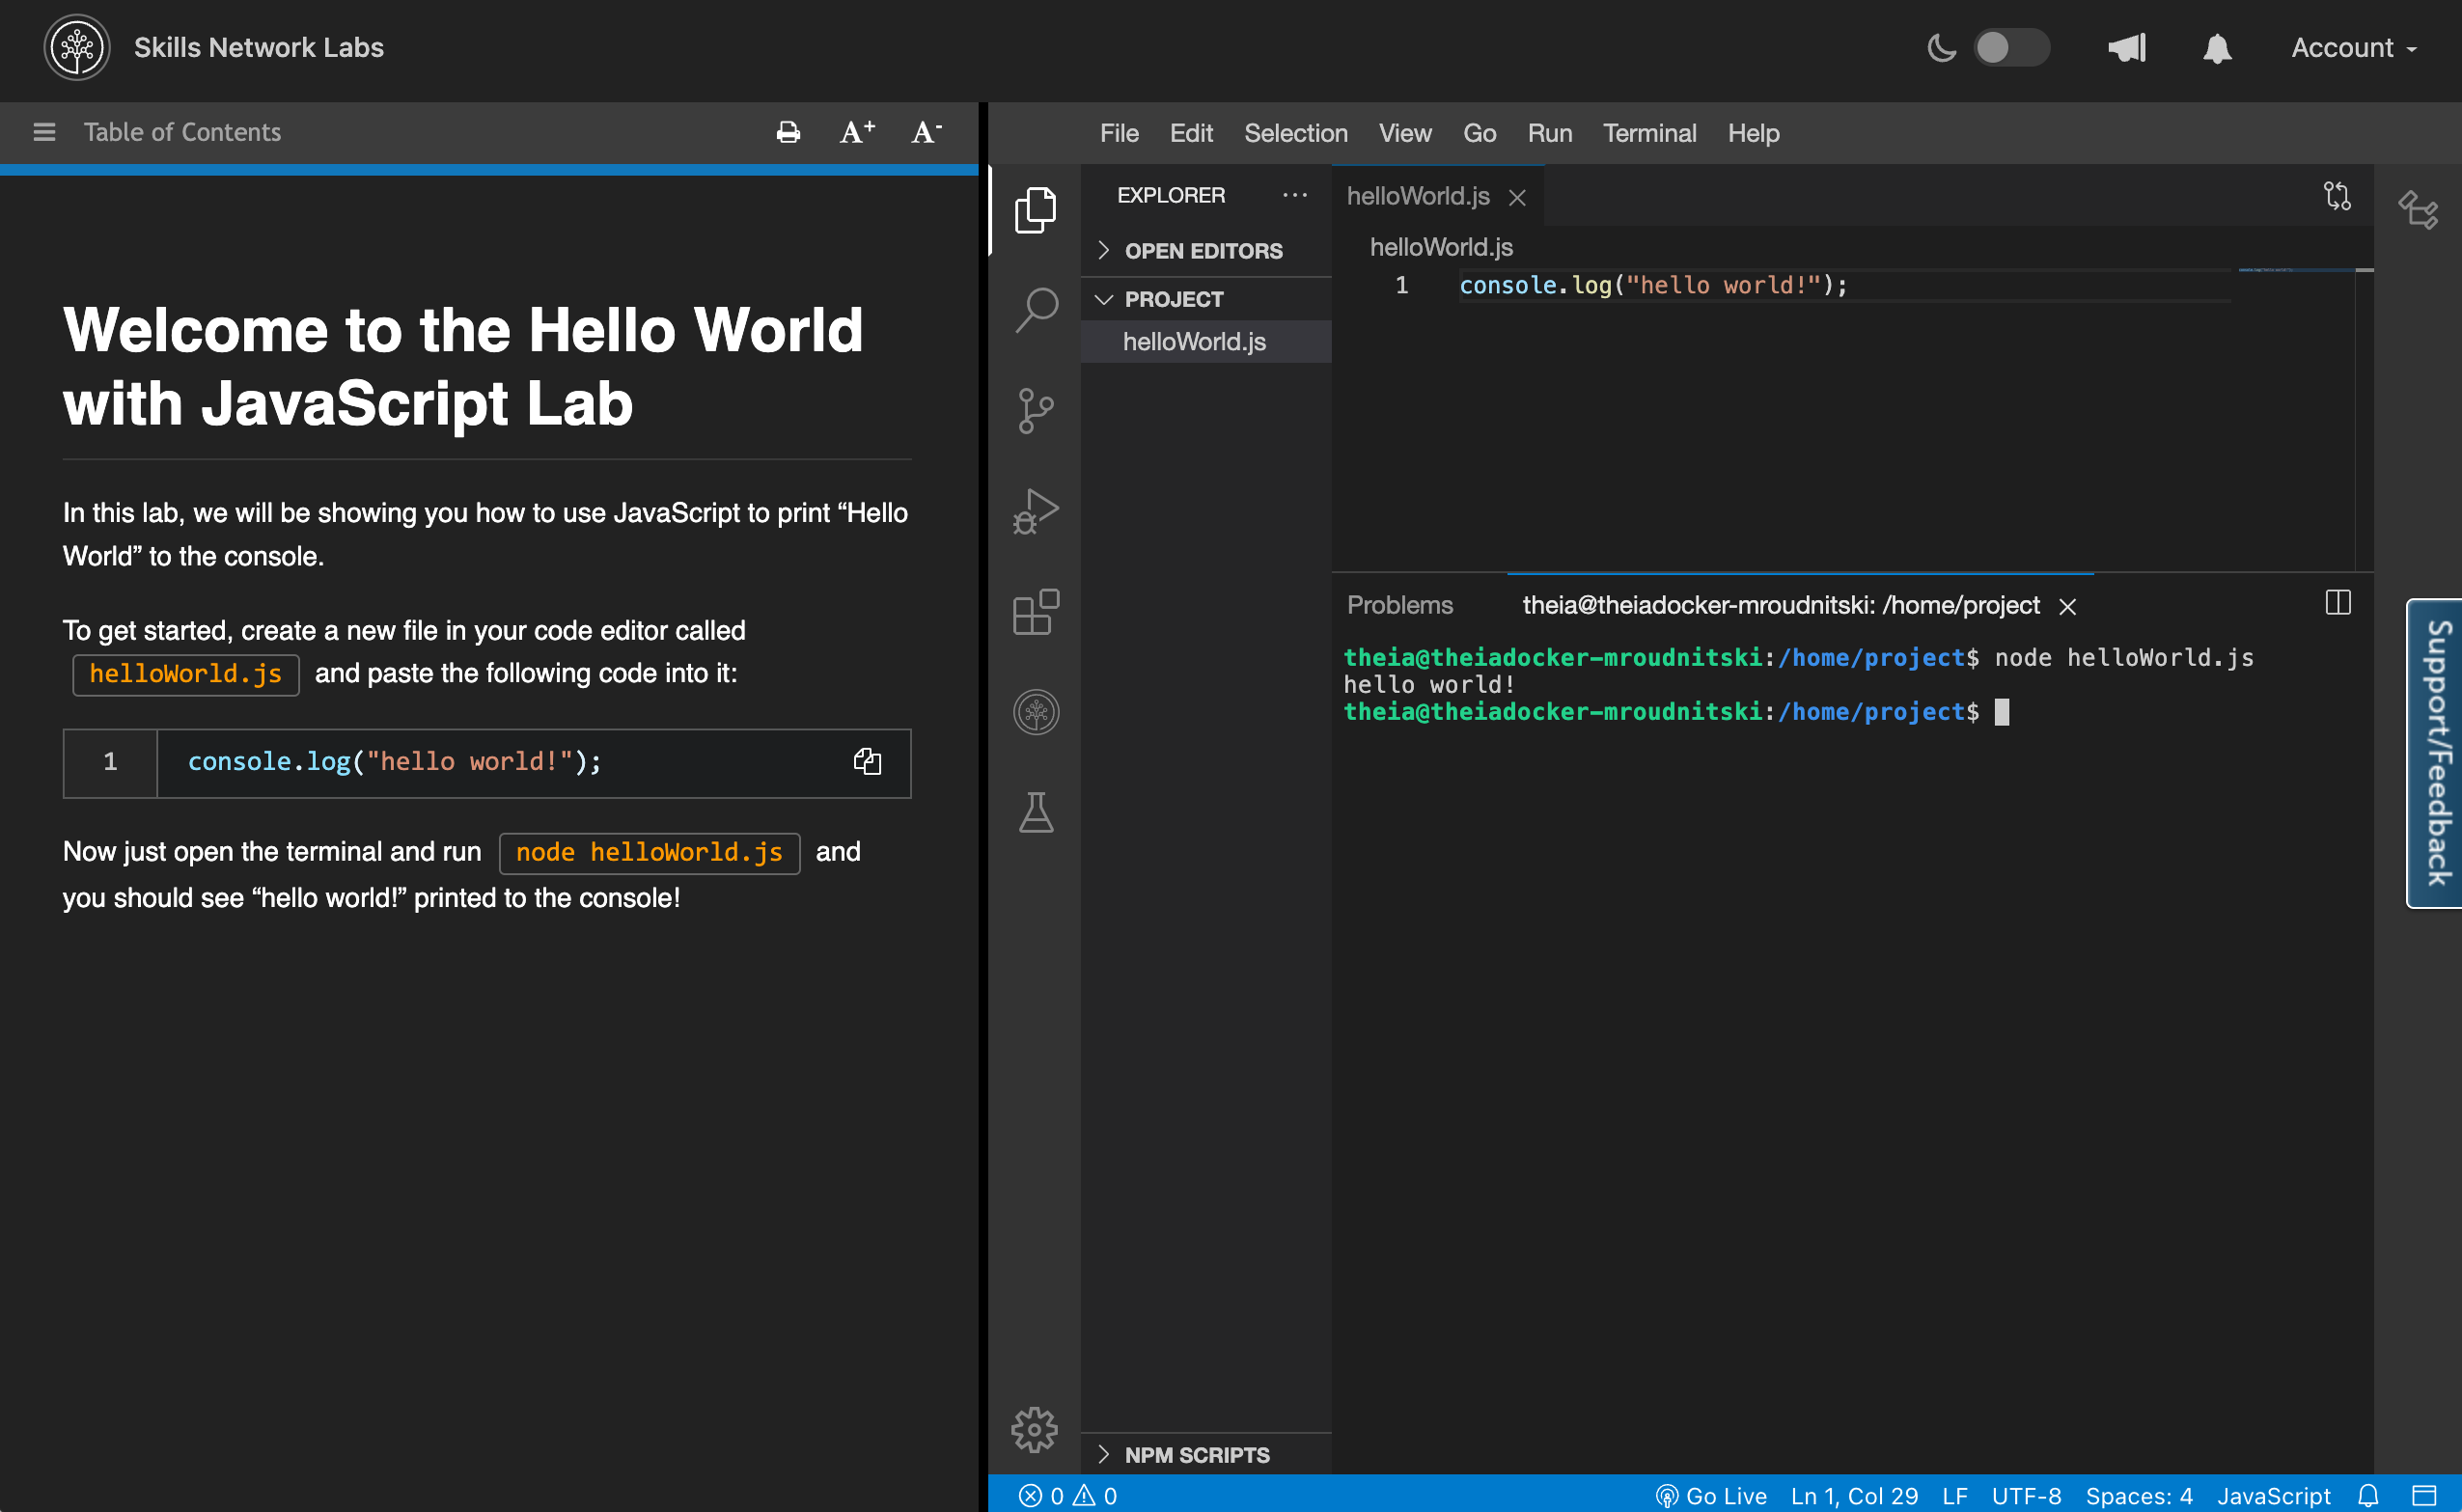
Cloud IDE is a browser integrated development environment running in the cloud. It supports many programming languages and tools right out of the box so that the users can start working right away without the hassle of tedious setups. User interface of Cloud IDE, as shown below, comprises of course instructions on the left side and vscode-like development environment on the right side.
Launch a terminal
Click Terminal in the menu of the development environment(on the right side of the screen). Then from the dropdown select New Terminal and it should open up a new terminal for you.
Docker
Docker is an open source platform that is widely used to develop, ship and run applications. Cloud-IDE has built-in support for Docker. You can simply use docker cli to run commands. Internally, the docker client(in your IDE) talks to docker daemon, running on a remote host, over a TCP connection. Default user(theia) is configured to run docker commands. Docker commands don't require root privileges. So, don't preface commands with sudo or run them with root user. Some examples are:
docker version
It prints information about the docker client and engine.
docker container list
It lists the existing containers.
Volume Mount Points
Volume is mounted to persist data from a docker container. Currently, Cloud-IDE only allows mounting data from /home/project directory. For example:
docker run -itd --name my-first-container -v /home/project/testDir:/app ubuntu:latest
It spins up my-first-container using ubuntu:latest image and mounts /home/project/testDir(if it exists in your environment) to the /app directory inside the container.
See the docker documentation for more commands.
Kubernetes
Kubernetes is an open source container orchestrator which allows to schedule docker containers on large scale compute nodes. It is now a de-facto standard for cloud-native application development and deployment. Cloud-IDE is already configured to support Kubernetes. It has a pre-installed command line tool called kubectl that handles communication with remote kubernetes cluster. Here are a few examples:
kubectl run my-first-pod --restart=Never --image=ubuntu -- sleep 10s
It creates a my-first-pod that runs a container using ubuntu image with sleep 10s command. This container spawns sleep 10s process.
kubectl get pods
It prints existing pods in your namespace.
More commands can be found in the Kubernetes documentation
Embeddable AI
Cloud IDE supports various Embeddable AI services includes Text-To-Speech, Speech-To-Text, and various Watson NLP services (e.g. sentiment, emotion, etc.). Learners have immediate access to all of these services (via HTTP API calls) to learn, test, and embed in their applications. Moreover, Skills Network provides images for all of these services so learners can deploy the services to the provided Code Engine Project, alongisde their applcations.
Using the provided Services
All of the services are available to all Cloud IDE learners, for all flavours of Cloud IDE. For example the Text-To-Speech can be accessed at: https://sn-watson-tts.labs.skills.network. To help learners both know what services are available and how to use them the Skills Network Toolbox provides a page for each of the Embeddable AI services which shows:
- Name and brief description
- Available Models
- Link to Documentation
- Example Commands (with button to easily copy or run in terminal)
View Screenshot

Moreover, as an author, within Author IDE, you can add Buttons to your lab's markdown instructions to help learners open these pages with a simple button click.
Building and Deploying to Code Engine
If you would like to deploy any of the above-mentioned Embeddable AI NLP service and have it be available for anyone to use, you can follow these steps in order to deploy it. The deployment will be to IBM Cloud’s Code Engine. IBM Cloud Code Engine is a fully managed, cloud-native service for running containerized workloads on IBM Cloud. It allows developers to deploy and run code in a secure, scalable and serverless environment, without having to worry about the underlying infrastructure.
Deploying to Skills Network Code Engine
The following steps allow you to test deploy to a IBM's Code Engine envrionement which is managed by Skills Network. This deployment is relatively easier and is recommended to quickly test out that if everything is working just fine.
Note: This deployment is temporary and is deleted after a few days.
1. Create Code Engine Project
In the left hand navigation pannel, there is an option for the Skills Network Toolbox. Simply open that and that expand the CLOUD section and then click on Code Engine. Finally cick on Create Project.

2. Click on Code Engine CLI Button
From the same page simply click on Code Engine CLI button. This will open a new terminal and will login to a code engine project with everything alraedy set up for you.

3. Choose and deploy your desired Embeddable AI image
To get started, simply run the following command in the terminal and choose the Watson's AI model you would like to use.
ibmcloud cr image-list --restrict sn-labsassets
After you execute the above command, terminal will output all the different NLP images available. You can then simply choose one of them by copying it's url. For this example, let's say you want to deploy the us.icr.io/sn-labsassets/sentiment-bert-watson-nlp-runtime model to Code Engine.
Then in the same terminal, run the following commands to deploy the model:
# Choose a app name for your Code Engine application
APP_NAME="Replace with your Code Engine Application Name"

# Replace with your desired Watson NLP image
CONTAINER_IMAGE_URL="us.icr.io/sn-labsassets/sentiment-bert-watson-nlp-runtime"
You an also set a visibility for your application, we would recommened to keep it as project to restrict any external traffic to it, and only allow the applications within your code engine project to be able to communicate with it as desired. For more infomration about visibility, check out the IBM Cloud Code Engine docs here.
VISIBILITY=project
ibmcloud ce application create \
--name ${APP_NAME} \
--env ACCEPT_LICENSE=true \
--image ${CONTAINER_IMAGE_URL} \
--registry-secret icr-secret \
--visibility ${VISIBILITY}
After the application is ready, it will display the deployed NLP service URL in the terminal. You can then utilize this service URL in the same way as the other pre-existing Watson NLP services provided by Skills Network, and directly incorporate it into any of your other applications that have been deployed to Code Engine.
Deploying to your personal IBM Cloud account's Code Engine
The following steps allow you to deploy the Watson NLP models to your personal IBM Cloud account's Code Engine envrionement. This deployment has some prerequisites and extra steps but ensures that your deployment is permanent untill you delete it yourself.
Prerequisites:
Ensure that you have registered for a IBM Cloud account and have enabled the billing. You can try it at no charge and receive USD$200 in cloud credits.
1. Log in to your IBM Cloud account
Using the ibmcloud login command log into your own IBM Cloud account. Remember to replace USERNAME with your IBM Cloud account email and then enter your password when promted to.
ibmcloud login -u USERNAME
Use ibmcloud login --sso command to login, if you have a federated ID.
Then target any specific resource group in your account. By default, if you've completed the sign up process for your IBM Cloud account, you can use the Default resource group.
ibmcloud target -g Default
2. Login to the IBM Entitled Registry
You'll need to login to IBM Entitled Registry to download the desired Watson NLP models so you can deploy them to your own Code Engine project.
Go IBM's Container Library to get an Entitlement Key. This Key gives you access to pulling and using the IBM Watson Speech Libraries for Embed. However, do note that this key is only valid for a Year as a trial.
Once you've obtained the Entitlement Key from the container software library you can login to the registry with the key, and pull the images.
Replace it with your own IBM Entitlement Key.
IBM_ENTITLEMENT_KEY="YOUR_IBM_ENTITLEMENT_KEY"
Login to docker registry to pull the images.
echo $IBM_ENTITLEMENT_KEY | docker login -u cp --password-stdin cp.icr.io
3. Choose and build your desired Embeddable AI image
Similar to deploying the image to Skills Network managed Code Engine, you will first need to choose a model from the model catalog.
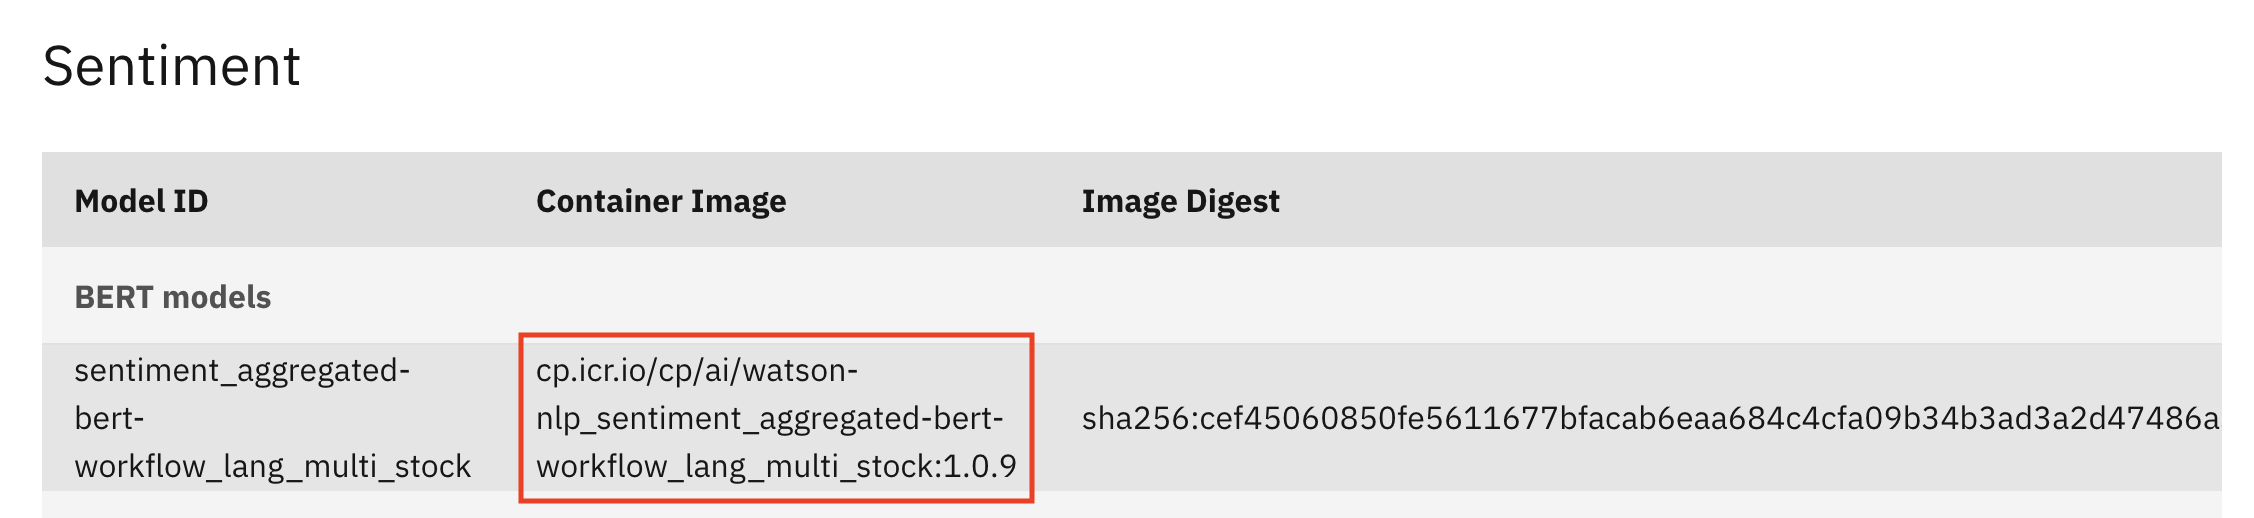
Using the same example as above, let's say you want to deploy the sentiment_aggregated-bert-workflow_lang_multi_stock model to Code Engine.
Simply copy it's Container Image url as shown below.
Now simply run the following commands in a terminal to download the chosen model to models directory:
CONTAINER_IMAGE_URL="Replace with the conatiner image url for your chosen model"
mkdir models
docker run -it --rm -e ACCEPT_LICENSE=true -v `pwd`/models:/app/models ${CONTAINER_IMAGE_URL}
After this create a new file called Dockerfile and add the following contents to it:
ARG TAG=1.0
FROM cp.icr.io/cp/ai/watson-nlp-runtime:${TAG}
COPY models /app/models
Finally build your image by executing this command in your terminal:
docker build -t my-watson-nlp-runtime:latest
4 Create a namespace and log in to ICR
You will need to create a namespace before you can upload your images, and make sure you're targeting the ICR region you want, which right now is global.
Choose a name for your namespace, specified as ${NAMESPACE}, and create the namespace. Currently, it's set to my-embeddable-ai, you can choose to rename it to anything you choose.
NAMESPACE=my-embeddable-ai
ibmcloud cr region-set global
ibmcloud cr namespace-add ${NAMESPACE}
ibmcloud cr login
6. Push your image to your namespace
REGISTRY=icr.io

# Tag and push the image
docker tag my-watson-nlp-runtime:latest ${REGISTRY}/${NAMESPACE}/my-watson-nlp-runtime:latest
docker push ${REGISTRY}/${NAMESPACE}/my-watson-nlp-runtime:latest
7. Deploy the image to Code Engine
1: Target a region and a resource group
Choose the region closest to you and/or your target users. Picking a region closer to you or your users makes the browser extension faster. The further the region the longer the request to the model has to travel.
You can choose any region from this list:
Americas
us-south- Dallasbr-sao- Sao Pauloca-tor- Torontous-east- Washington DC
Europe
eu-de- Frankfurteu-gb- London
Asia Pacific
au-syd- Sydneyjp-tok- Tokyo
Use the following commands to target Dallas as the region and the Default resource group.
REGION=us-south
RESOURCE_GROUP=Default
ibmcloud target -r ${REGION} -g ${RESOURCE_GROUP}
2: Create and Select a new Code Engine project
In this example, a project named my-test-project will be create in the resource group set by the previous command.
ibmcloud ce project create --name my-test-project
ibmcloud ce project select --name my-test-project
3: Deploy Watson NLP Image
Choose a app name for your Code Engine application and set the container image url you just copied.
APP_NAME="Replace with your Code Engine Application Name"
You an also set a visibility for your application, we would recommened to keep it as project to restrict any external traffic to it, and only allow the applications within your code engine project to be able to communicate with it as desired. For more infomration about visibility and other optional parameters, check out the IBM Cloud Code Engine docs here.
VISIBILITY=project
ibmcloud ce application create \
  --name ${APP_NAME} \
  --port 1080 \
  --min-scale 1 --max-scale 2 \
  --cpu 2 --memory 8G \
  --image private.${REGISTRY}/${NAMESPACE}/my-watson-nlp-runtime:latest \
  --registry-secret ce-auto-icr-private-${REGION} \
  --visibility ${VISIBILITY} \
  --env ACCEPT_LICENSE=true
After the application is ready, it will display the deployed NLP service URL in the terminal. You can then utilize this service URL in the same way as the other pre-existing Watson NLP services provided by Skills Network, and directly incorporate it into any of your other applications that have been deployed to Code Engine.