Overview
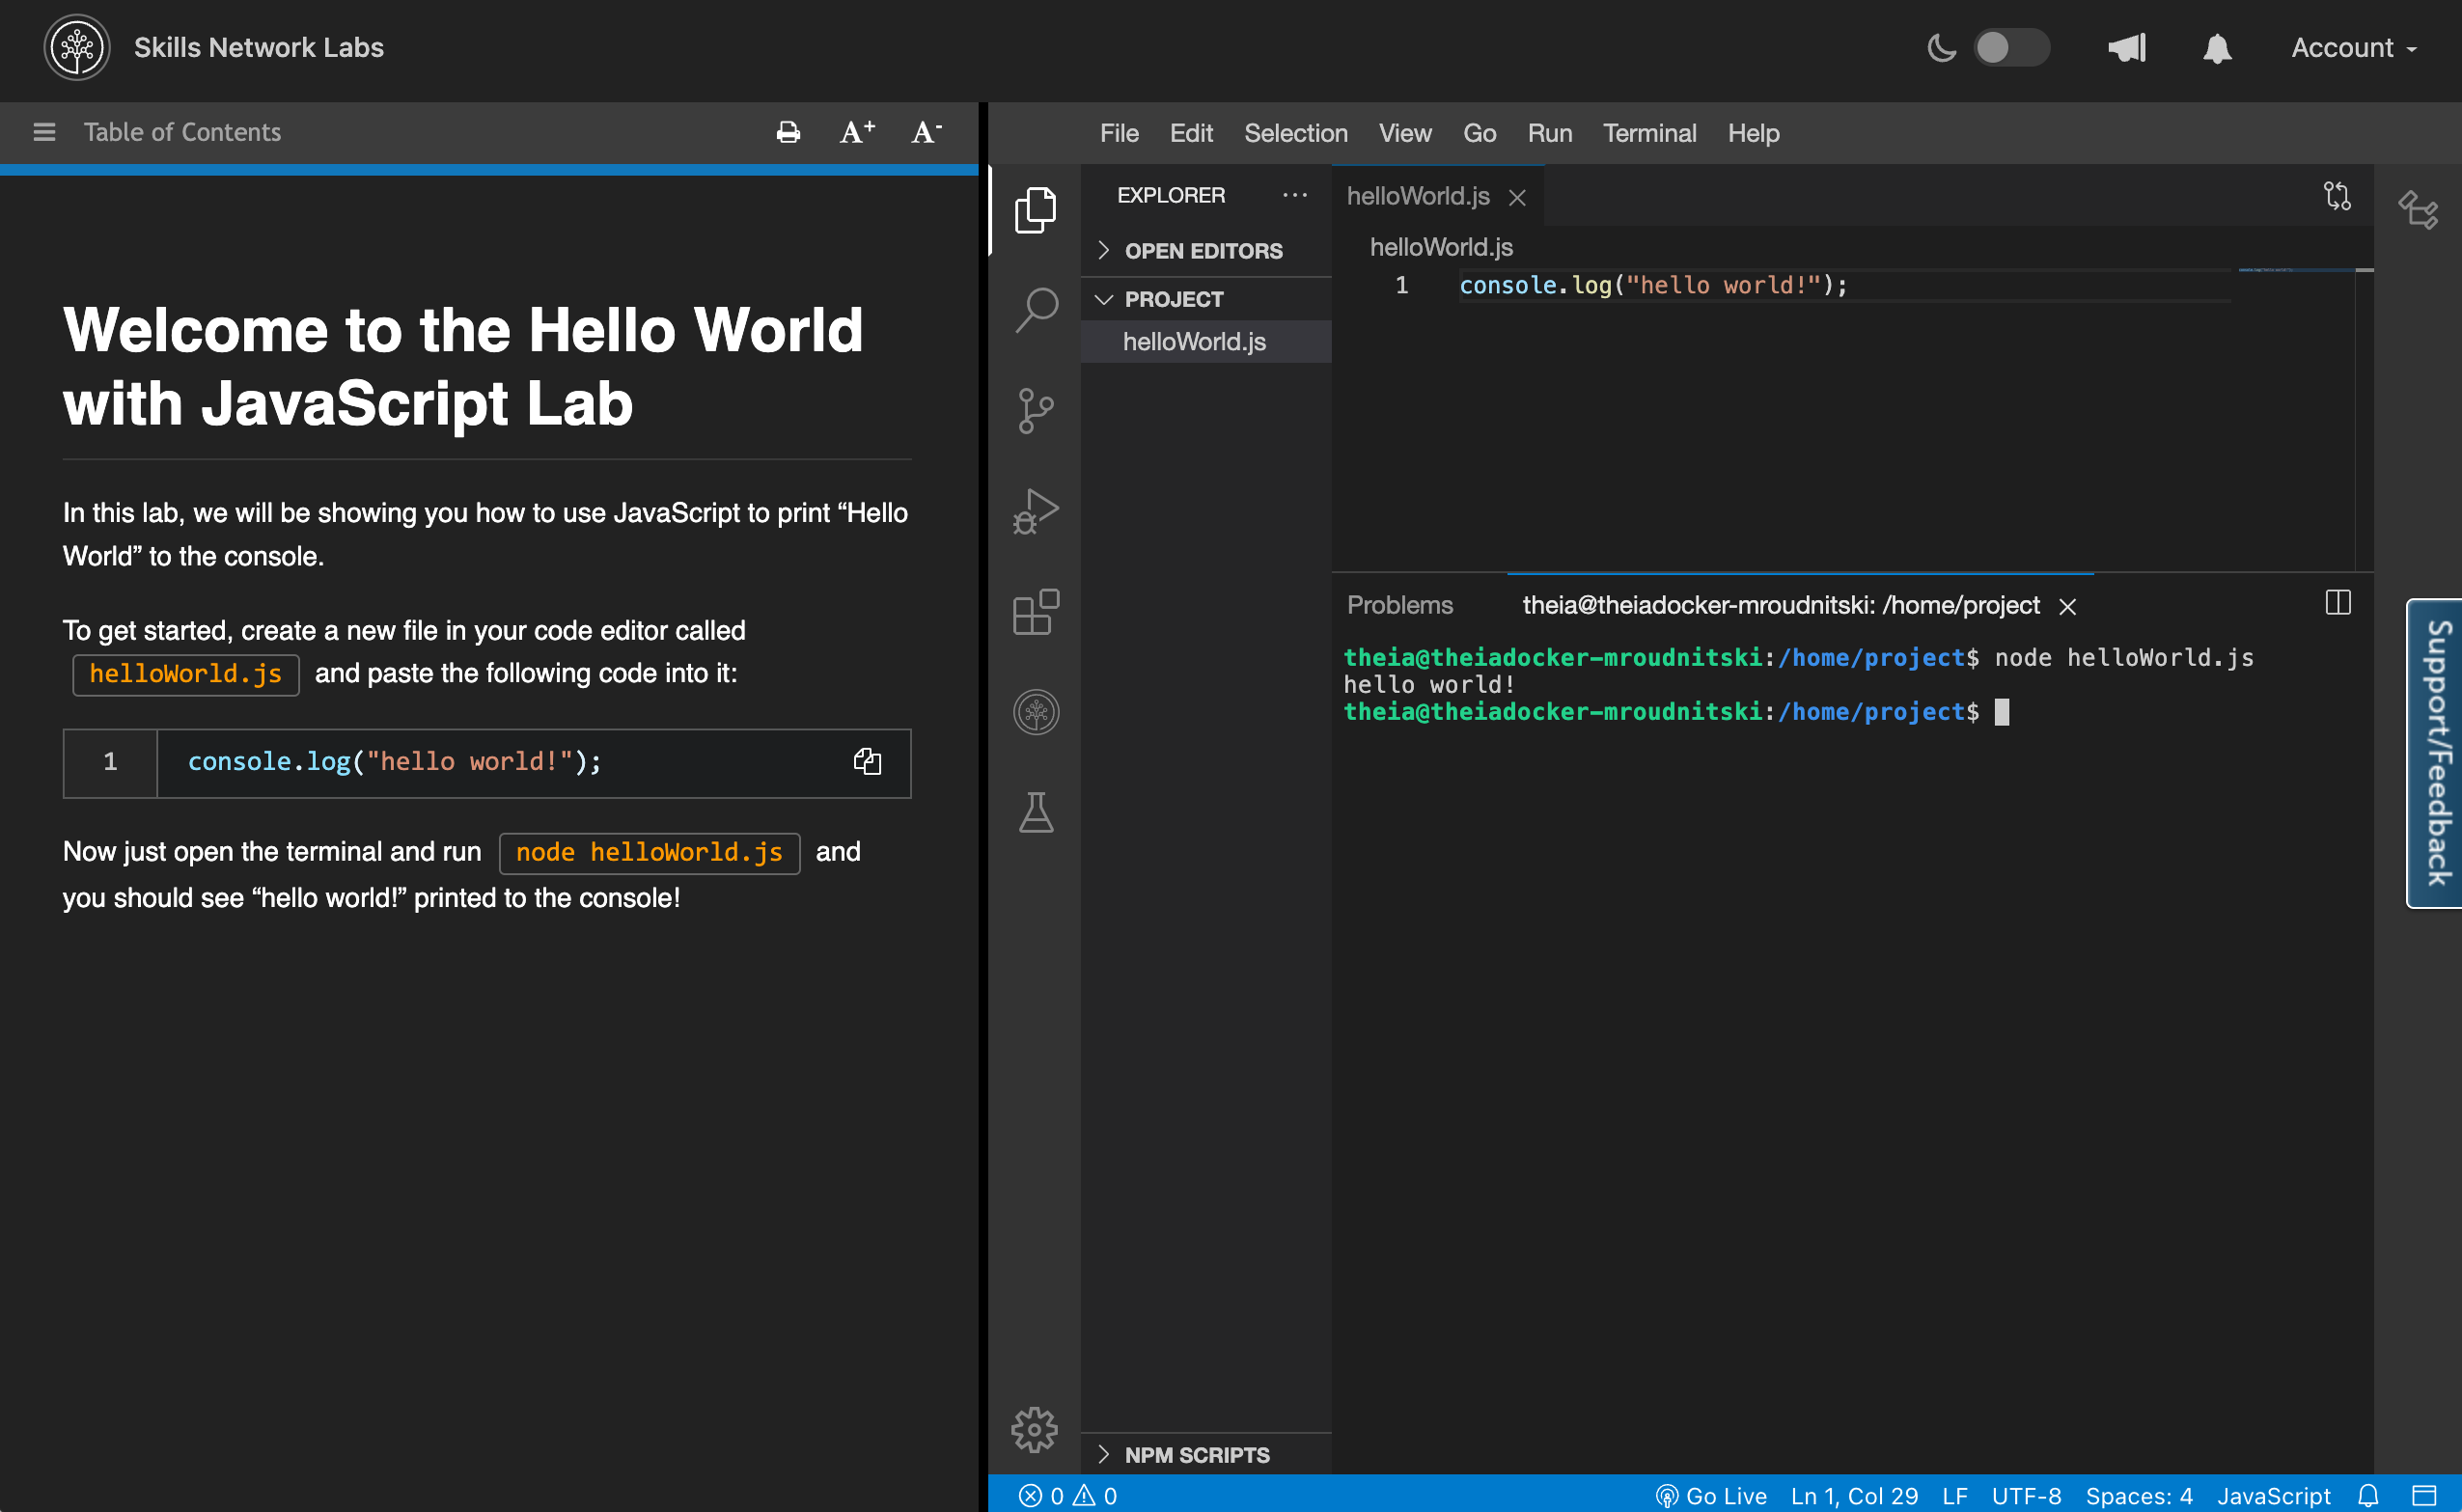
Cloud IDE is a browser integrated development environment running in the cloud. It supports many programming languages and tools right out of the box so that the users can start working right away without the hassle of tedious setups. User interface of Cloud IDE, as shown below, comprises of course instructions on the left side and vscode-like development environment on the right side.
There are three versions of Cloud IDE available on Author Workbench: normal Cloud IDE, Cloud IDE with Kubernetes and Cloud IDE with Openshift. Any information specific to only one version of Cloud IDE will be clearly indicated below.
Launch a terminal (all Cloud IDE versions)
Click Terminal in the menu of the development environment(on the right side of the screen). Then from the dropdown select New Terminal and it should open up a new terminal for you.
Framework-Specific Information
Flutter Web and Cloud IDE
Flutter Web's hot restart feature, which allows developers to see changes instantly by pressing r in the terminal, doesn't work as expected in the Cloud IDE due to differences in the environment.
However, there's a simple workaround with a bash script to mimic the hot reload functionality. Click here for more information on how to use this workaround.
Tips on Writing a Successful Cloud IDE Lab
Creating an effective Cloud IDE lab requires careful planning to ensure learners have a smooth and engaging experience. Below are key tips to enhance the structure and learning outcomes of your lab.
1. Provide an overview of the final application early
If your lab involves building an application, include an overview within the first few pages. This helps learners understand the end goal and visualize what they will achieve by the end of the lab.

2. Include a "Tips for the best experience" page
Early in the lab, provide a dedicated "Tips for the best experience" page to help learners navigate the tutorial smoothly. This page should serve as a reference point for troubleshooting and best practices throughout the lab. Key elements to include:
- Guidance on Navigation – Explain how to use the Table of Contents to quickly find sections and avoid getting lost.
- Quick Start Option – Offer a fast-track method for learners who want to see the final result early.
- Cloud IDE Best Practices – Cover essential tips such as saving work, running code blocks, and ensuring the correct project directory.
- Application Execution Instructions – Provide reminders on keeping
app.pyrunning, using the correct port, and refreshing the application when needed. - Troubleshooting Tips – Include solutions for common issues like server errors, unstable models, or access problems.
This page acts as a go-to cheat sheet that learners can refer back to whenever they encounter confusion or errors.

3. Offer two learning versions
To accommodate different learning styles and time constraints, provide two options:
- Quick version: Guide learners to get the final application up and running within the first few pages. This helps those who want quick results.

- Full version: Once the application is running, encourage learners to continue through the rest of the lab to explore deeper explanations, code breakdowns, and additional insights.
By structuring your Cloud IDE lab in this way, you can cater to both quick learners who want a fast setup and those who prefer an in-depth understanding of the implementation.